
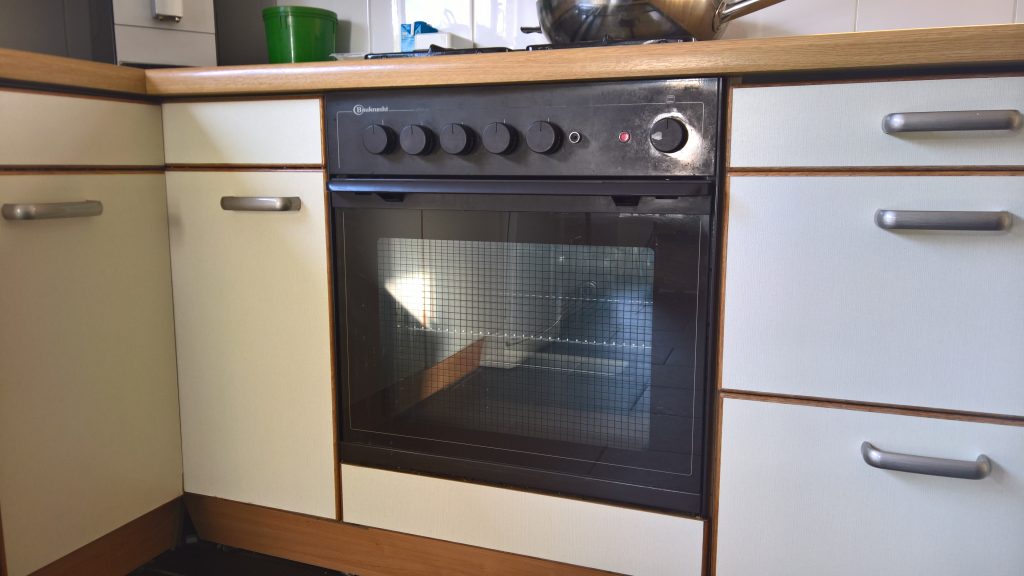
There is little more frustrating in a busy kitchen than switching on the oven, waiting patiently, and then discovering that it is still cold. Dinner plans stall, baking goes wrong, and it is tempting to assume that an expensive repair is inevitable. In many cases, however, the cause is simple, and a calm, step-by-step check can reveal it. The guides on ovendown are designed for exactly this kind of moment, helping home cooks work through the most likely faults in a logical order before they decide whether to attempt a fix or call a professional. Understanding how an oven heats, what can interrupt that process, and which symptoms point to which fault makes diagnosis far less stressful.
An oven that does not heat at all behaves differently from one that heats slowly, heats unevenly, or heats but then switches off. Noting those details matters. Does the light come on? Does the fan run? Does the control panel respond? Is the problem confined to one function, such as the grill or the lower element, while other functions still work? Answers to those questions narrow the search quickly. A completely dead oven may point to power supply, while an oven that warms a little but never reaches temperature may point to a thermostat, a heating element, or a door seal.
Start With the Simple Checks First
Before looking inside the oven, check the basics that are easy to overlook. Confirm that the oven is plugged in securely or, for a hard-wired model, that the isolator switch is on. Check the household fuse box or circuit breaker for a tripped switch, and look for any obvious damage to the power cord. If the oven has a clock or timer, remember that many models will not heat until the clock has been set after a power cut. A timer left in automatic mode can also prevent manual heating, so check the manual or a troubleshooting guide for how to return the oven to manual operation. These checks take only a few minutes, yet they solve a surprising number of reported faults.
Heating Elements and Thermostats
In an electric oven, heating elements are among the most common causes of poor heating. An element can fail gradually or suddenly, and a visual check, once the oven is cool and isolated from power, can sometimes reveal blistering, cracks, or a break in the coil. A more reliable test uses a multimeter to check continuity, but only if you are confident and the appliance is safely disconnected. Never test electrical parts while the oven is live unless you are qualified to do so. If one element works and another does not, the fault is likely local to that element or its wiring, rather than a general power failure.
The thermostat controls when the elements switch on and off to hold the chosen temperature. When it fails, the oven may overheat, underheat, or cycle unpredictably. Signs include food that is consistently pale despite a high setting, long preheating times, or a temperature that swings widely during cooking. A temperature sensor, often a thin probe inside the cavity, can also cause similar symptoms if it is damaged, coated in grease, or displaced. Guides on ovendown.org explain these parts in plain language, so you can understand what each component does before you decide whether a replacement is a sensible do-it-yourself task or a job for a professional.
Gas Ovens, Ignition, and Airflow
Gas ovens heat differently, and their faults have their own warning signs. If the burner does not light, the igniter may be weak, the gas supply may be interrupted, or the burner ports may be blocked by food debris. A weak igniter is a common culprit: it may glow but not become hot enough to open the gas valve. If you smell gas, however, the rules change immediately. Do not keep trying to light the oven, do not switch electrical items on or off, ventilate the room if it is safe to do so, and leave the area to seek professional help. Gas safety is not a place for trial and error, and a good guide will always make that boundary clear.
A Practical Diagnostic Routine
A useful routine is to work from outside to inside and from simple to complex. First, confirm power, settings, and timers. Second, observe the oven during a test run and record what lights, fans, and sounds are present. Third, compare the displayed temperature with an oven thermometer. Fourth, inspect accessible parts such as seals, racks, and visible elements when the oven is cool and disconnected. Fifth, use a guide to match your symptoms to likely causes and to check whether the repair needs only basic tools, such as a screwdriver, or specialist testing equipment. This order prevents unnecessary part replacement and keeps the work safe.
When to Stop and Call a Professional
Some faults are best left to qualified technicians. These include any smell of gas, burnt wiring, repeated tripping of the circuit breaker, damage to the power cord, or faults inside sealed control boards. If you are unsure how to isolate the appliance safely, stop and seek help. The same applies if a repair requires working with gas connections or mains electricity beyond a simple, manufacturer-approved part replacement. A professional can test components safely, confirm the diagnosis, and ensure the repair meets safety standards. Paying for a correct diagnosis is usually cheaper than replacing several parts in hope.
An oven that does not heat is inconvenient, but it is also a problem with a clear diagnostic path. By checking power and settings first, observing symptoms carefully, and learning how elements, thermostats, seals, and airflow affect temperature, most owners can narrow the fault to a small number of causes. Clear, generic troubleshooting guidance helps you stay methodical, avoid unsafe shortcuts, and make an informed choice about the next step. Whether the fix turns out to be a reset clock, a replaced seal, a new element, or a professional repair, a calm diagnosis is always the best place to start.
